Updated 2 July 2026
Straight answer first: Shine Panel Care is a Brisbane installer, and we do not have a team in Launceston or anywhere in Tasmania. What we can do is ship you the fix — our $180 DIY mesh kit with the same 304 stainless steel mesh and clips our professional installers use, plus a step-by-step guide you or a local handyman can follow.
If you searched for solar panel bird proofing in Launceston, you want the gap under your panels closed before pigeons or starlings turn it into a nursery. We won't pretend to be that local installer — we're in Brisbane and we don't travel. But the fix is proven exclusion mesh clipped to the panel frames, and we sell it as a complete DIY mesh kit for $180 including GST, shipped to your door. Fit it yourself on a safe roof, or hand the kit and guide to any competent local tradie.
The 100–150mm cavity between a solar array and the roof is ideal nesting habitat: elevated, dry, sheltered and safe from predators. Pigeons and starlings move in, and the colony grows — droppings foul the roof and gutters, nesting material packs in under the panels, and the noise starts at dawn.
In a cool climate the appeal only gets stronger: a warm, sheltered void out of the wind and frost is exactly what birds look for through a Launceston winter. Once a pair settles in, chasing them off achieves nothing — the habitat is still there, so they come back.
Our solar panel bird mesh buyer's guide covers the details — here's the short version.
Mesh clipped around the panel perimeter physically closes the gap — nothing to habituate to, nothing to outsmart. 304 stainless steel handles decades of outdoor exposure.
Spikes protect only the ledge they sit on; gels, fake owls and ultrasonic units rely on a fear response birds habituate to within weeks. None of them touch the under-panel void.
Netting suits balconies and large open voids, not panel perimeters. It sags, UV-degrades and can trap birds against the panels. Mesh is the purpose-built product.
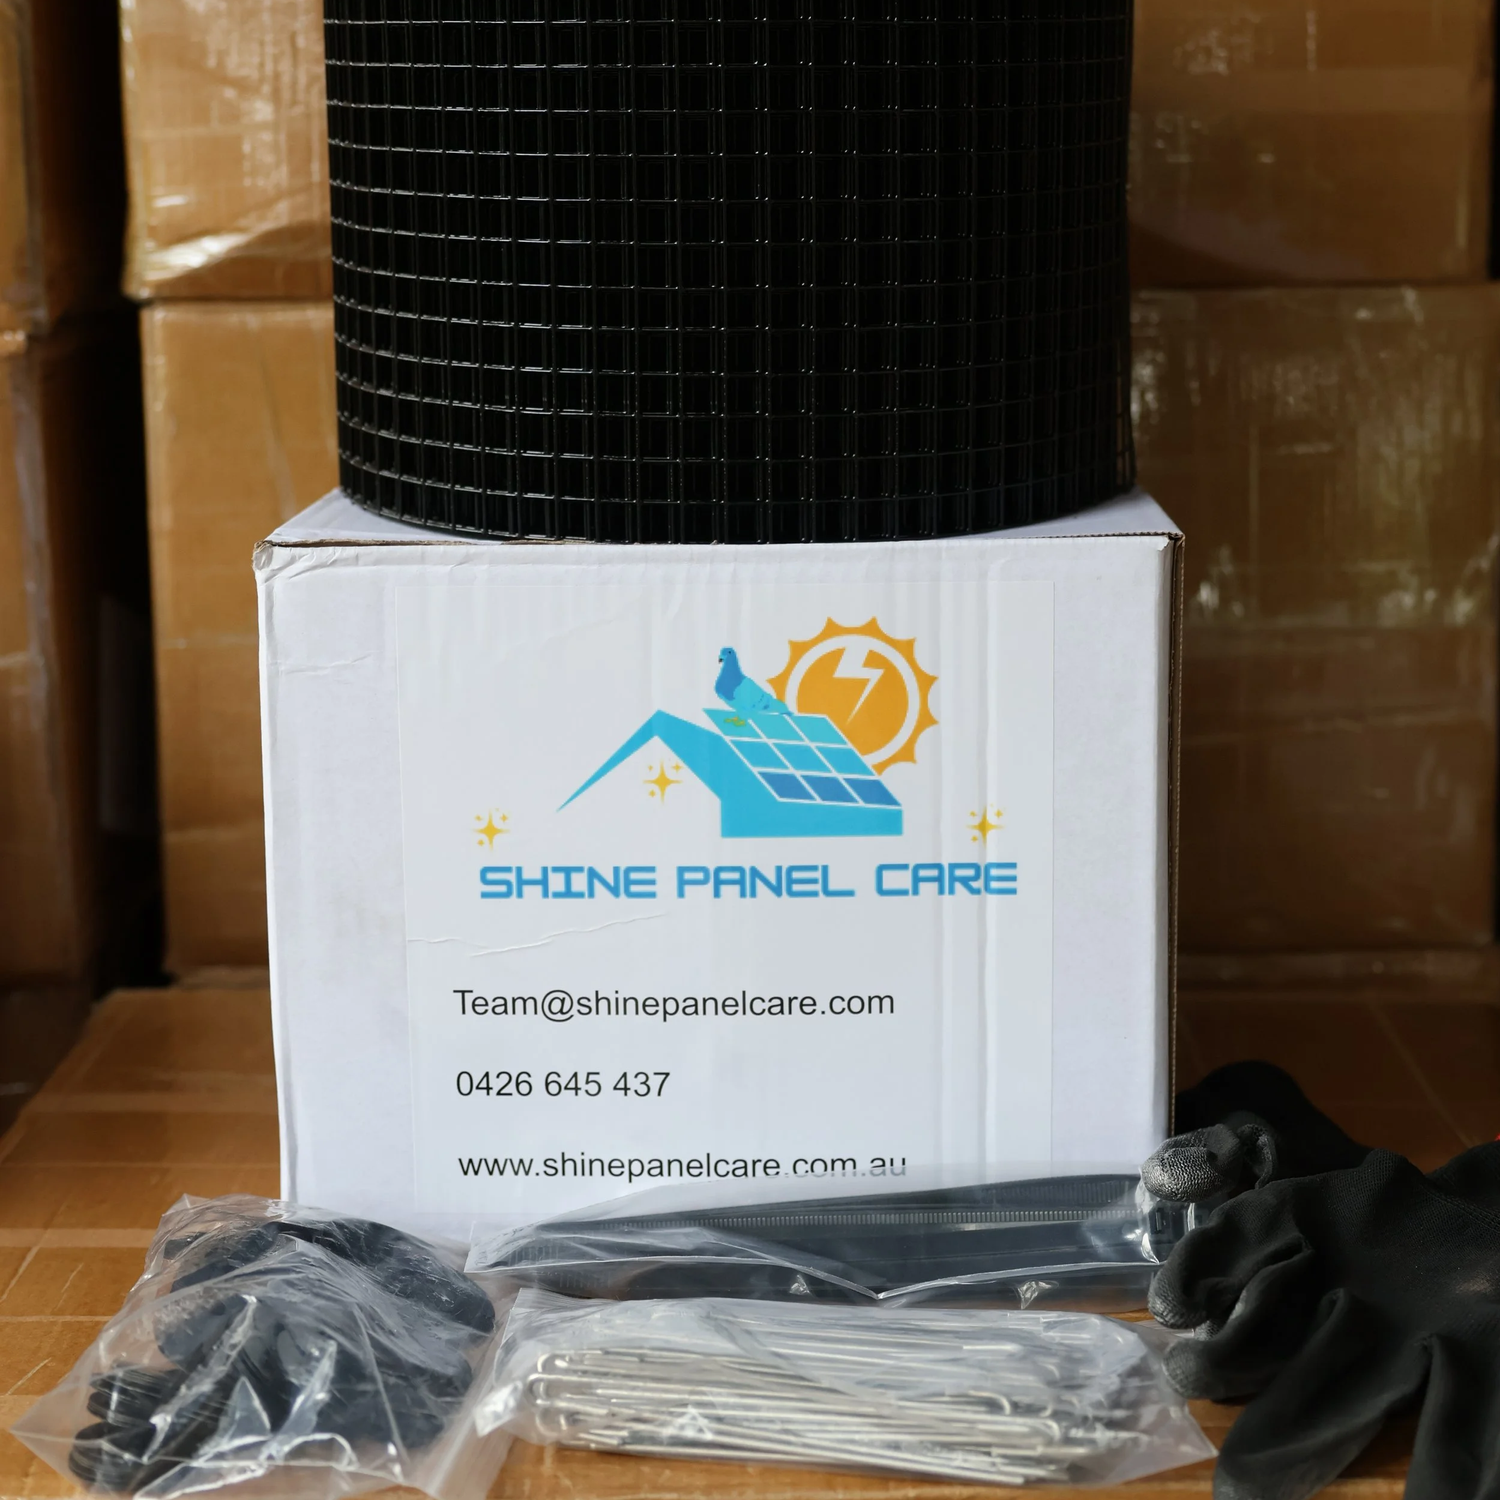
This is not a hardware-store roll of wire. It's the same professional-grade materials we fit on Brisbane jobs, packed as a complete DIY solar panel mesh kit — $180 including GST.
30 metres covers the perimeter of most residential systems up to around 20 panels — measure your array's outer perimeter before ordering.
Allow half a day for a first install on a single-storey array. The full install guide covers every step in detail — tools are just gloves, tin snips, a tape measure and a soft brush.
Remove all droppings, feathers and nesting debris — gloves and a P2 mask on, since droppings carry pathogens. Never seal mesh over an active nest.
Run a tape around every exposed edge where a bird could walk in, including panel-to-panel junctions on split arrays.
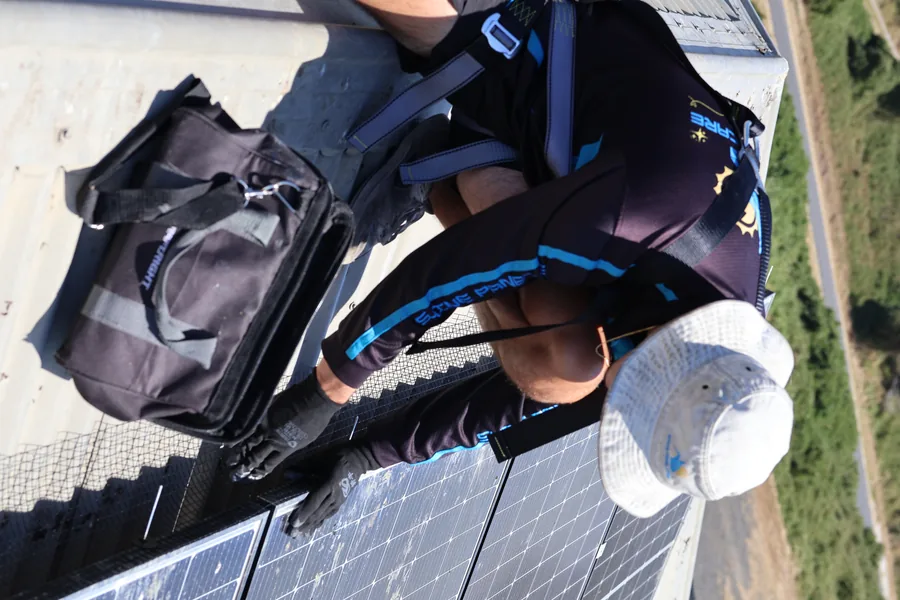
Work in 2–3m lengths. The mesh spans from panel frame to roof surface, held firm by evenly spaced clips — nothing is drilled or glued.
This is where DIY jobs fail. A pigeon fits through roughly a 40mm gap, so shape the mesh individually around every corner and every conduit or cable entry point.
Inspect the full perimeter: no gaps over 40mm, every clip seated, no sharp edges exposed. Take photos as your record for the annual check.
Single-storey home with a low-pitch roof you can walk comfortably, standard aluminium panel frames (virtually all residential panels in Australia), and you're comfortable working at height with a second person on the ground.
Two-storey or steep roof, brittle tiles, or a heavy active infestation to clear out? Still buy the kit — then pay a Launceston handyman or roofer a couple of hours' labour to fit it using the guide. Pro-grade materials, local hands.
Only install this kit if you can safely access your roof
Do not attempt installation during wet, windy, frosty or otherwise unsafe conditions. If your roof is steep, two-storey or has fragile tiles, hand the job to a local professional — no mesh job is worth a fall.
Kits ship from Brisbane within 1–2 business days of payment and are delivered Australia-wide — Tasmania included. Shipping cost is calculated at checkout based on your delivery address.
Returns accepted within 30 days for new, unused, unopened kits in original packaging. Faulty products are covered under Australian Consumer Law regardless of the return window. Full terms on the shipping and returns page.
10-year product warranty on the mesh and clips against manufacturing defects and material failure. The kit does not include a labour warranty — Australian Consumer Law rights apply separately.
No. Shine Panel Care installs in Brisbane, Queensland only — we don't have a team in Launceston or anywhere in Tasmania. What we offer instead is our $180 DIY mesh kit: the same 304 stainless steel mesh and clips our installers use, shipped to your door with a step-by-step guide.
The mesh is epoxy-coated 304 grade stainless steel — a corrosion-resistant material used outdoors across Australia — and the clips are UV-stable. Cold, frost and rain don't change how the clip-on system fits; the installation steps are the same anywhere in the country.
Kits ship from Brisbane within 1–2 business days of payment, and shipping cost is calculated at checkout based on your delivery address. Transit time to Launceston depends on the carrier — we'll confirm an estimate when you order. Full details on the shipping and returns page.
A 10-year product warranty on the mesh and clips against manufacturing defects and material failure. The kit does not include a labour warranty — workmanship is yours. Australian Consumer Law rights apply separately.
Yes. Any competent handyman, roofer or tradie can follow the install guide — the clip-on system needs no drilling and no specialist tools beyond tin snips, gloves and a tape measure. It's a sensible middle path if you'd rather stay off the roof.
For most residential systems up to around 20 panels in a single array, yes. Measure the total outer perimeter of your array before ordering. If it runs longer, order a second kit — or email us a photo of the array and we'll confirm what you need.
$180 complete DIY kit. The same 304 stainless mesh the pros use, shipped Australia-wide with a 10-year product warranty.