Updated 2 July 2026
There is exactly one approach that ends a pigeon problem permanently, and a long list of products that only postpone it. Here's the method, the costs, and an honest take on doing it yourself.
Every lasting fix follows the same sequence, whether you do it yourself or pay a professional. Skipping a step is why most attempts fail.
All nesting material, droppings and debris must come out from under the array first. Leftover material retains the scent marker that draws pigeons back, and sealing mesh over an active nest traps birds inside. This is also the step with the most safety and hygiene risk — droppings carry pathogens, so gloves and a mask are not optional.
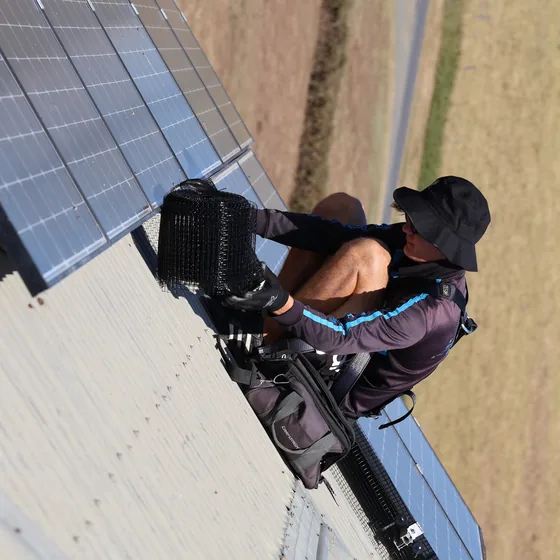
Fit rigid, epoxy-coated 304 stainless steel mesh around the full perimeter of the array, clipped to the panel frame — never drilled into the roof. A pigeon fits through roughly a 40mm gap, so corners and cable entry points need individual attention. This is the step that makes everything else permanent. See why mesh beats netting and spikes.
Droppings on the glass cost you real output — fouled panels typically lose 15–25%. Once the birds are excluded, a professional panel clean ($15 per panel, minimum $120) restores production and gives you a clean baseline to monitor from.
A correctly installed mesh perimeter needs almost no maintenance — but a quick visual check once a year (or after major storms) confirms no clip has shifted and no debris has built up against the mesh line.
We get called to a lot of roofs where these have already been tried.
Clapping, hoses, noise — pigeons leave for an afternoon and come back. Brisbane birds breed year-round and have a strong homing instinct. Here's why they always return.
Static fear-based deterrents stop working within days to weeks as the birds habituate. None of them closes the gap, so the attraction is untouched.
Spikes protect the exact ledge they sit on. Pigeons land beside them and walk under the panels anyway — the nesting void is what they want, not the perch.
DIY suits: single-storey homes with a low-pitch roof and safe access. Our DIY mesh kit is $180 including GST — a 30m roll of the same epoxy-coated 304 stainless mesh we use professionally, with clips. Work from the step-by-step install guide and allow half a day.
Professional suits: two-storey homes, steep pitches, active infestations, or anyone who doesn't want to be on a roof. Professional bird proofing is $23 per metre all-inclusive: nest removal, custom fitting, photo and video completion report, 10-year product warranty and a lifetime labour warranty. Most homes are done in 1.5–3 hours.
No. Nest and debris removal is part of every professional installation we do — one visit covers the clearout, the clean-up and the mesh. If you're doing DIY, you handle the clearout yourself before fitting the mesh.
Professionally: $23 per linear metre including GST, all-inclusive — most standard homes land in the $350–$700 range depending on array size. DIY: $180 for a 30m kit. Full pricing is published at up-front pricing — no call-for-a-quote games.
Most standard residential systems (6–16 panels, single-storey) take 1.5–3 hours professionally, including nest removal and clean-up. A DIY install on an accessible roof is usually a half-day job for a first-timer.
No. The clips grip the panel frame without penetrating it, and nothing is drilled into the roof — so panel and roof warranties stay intact. That's a key thing to verify with any installer; see the mistakes to avoid.
Clear the nest, eggs and droppings first — wear gloves and a mask, as droppings carry pathogens — then seal the perimeter with 304 stainless mesh so the birds can't get back in. Removing the birds without closing the gap just leaves the space open for the next pair. Never mesh over an active nest; it traps birds inside.
Permanent exclusion is the only thing that lasts. Once the under-panel gap is meshed, the warm, sheltered void that attracts pigeons is gone, so there's nothing to return to. Scaring, spikes and ultrasonic units only move them on for a while — the birds habituate and come back, usually within weeks.
Yes, on a single-storey, low-pitch roof with safe access. A DIY 304 stainless mesh kit ($180 for 30m with clips) plus the install guide is a realistic half-day job. For two-storey or steep roofs, or an active infestation, professional installation is the safer call.
Corners, panel ends and cable-entry points are where most DIY jobs fail — a pigeon only needs about a 40mm gap. The mesh has to be cut to follow the perimeter exactly and clipped tight at every corner with no loose sections. That detail is the difference between a permanent fix and birds back within a month.
Nest removal, 304 stainless mesh, lifetime labour warranty. From $23/m — or DIY from $180.