Updated 2 July 2026
Everything you need to fit your 30m kit properly: the prep, the sequence, the two spots where DIY jobs usually fail — and an honest line on when to put the snips down and call us.
The kit is designed for single-storey homes with a low-pitch roof and safe access. Be honest with yourself here — this is the step that matters most.
If your roof is two-storey, steep, or you're not confident: stop here. Professional installation is $23 per metre all-inclusive with a lifetime labour warranty, and our technicians work in full fall protection. Rooftop falls are one of the most common serious injuries in Australian home maintenance — the cost difference is not worth it. More on this in mistake #6.
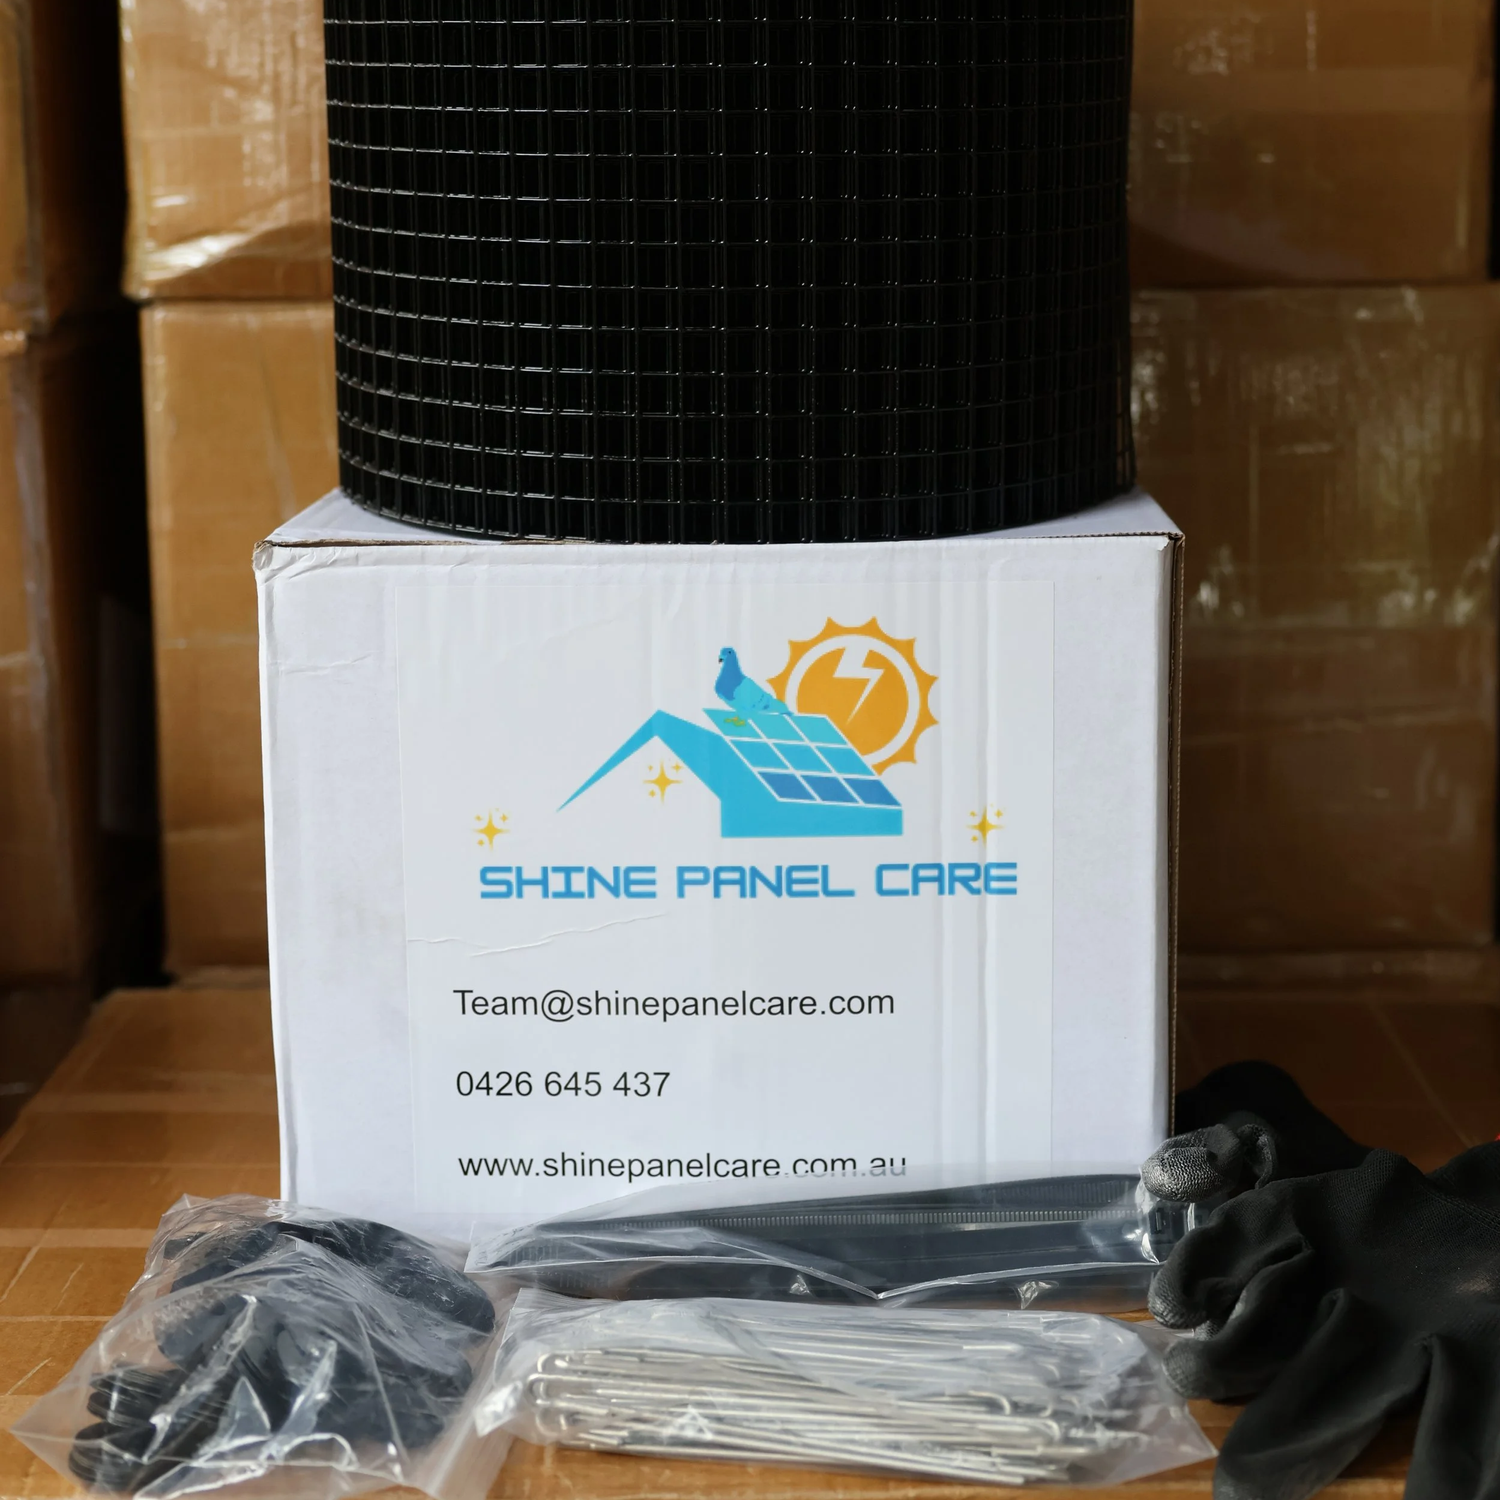
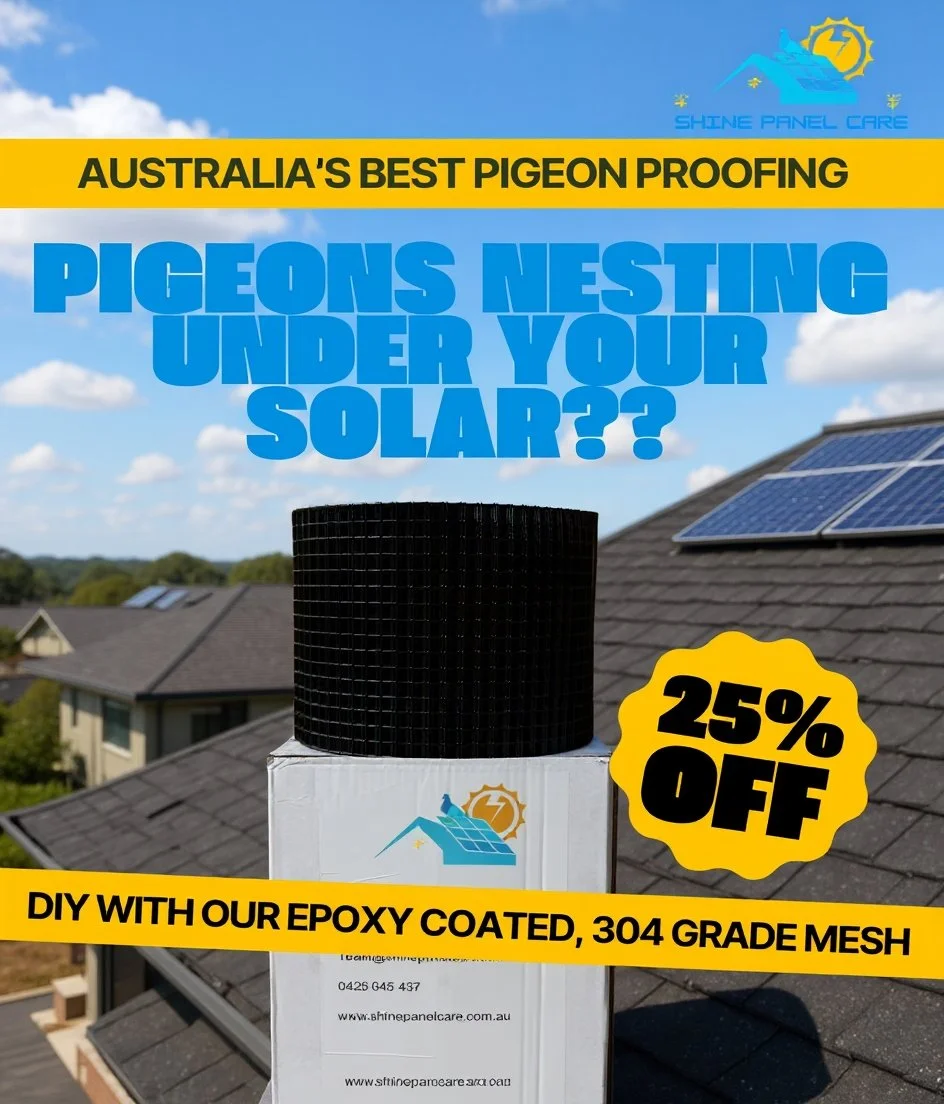
Your kit contains a 30m roll of epoxy-coated 304 stainless steel mesh — the same material we install professionally — and enough clips for the full run. 30m covers the perimeter of most residential arrays up to roughly 20 panels, depending on layout.
Have ready: work gloves, tin snips or wire cutters, a soft brush and bags for the nest clearout, and a tape measure. Nothing gets drilled, glued or screwed — the clips do all the fixing.
Remove all nesting material, droppings and debris from under and around the array — gloves and mask on. Bag it and get it off the roof. Sealing mesh over leftover material invites re-entry attempts at the edges, and sealing over an active nest traps birds inside. Brush the area clean.
Run a tape around the full exposed perimeter of the array — every edge where a bird could walk in, including panel-to-panel junctions on split arrays. Note the gap height between panel frame and roof at a few points; it usually varies across the array.
Work in 2–3m lengths rather than wrestling the whole roll. Cut the mesh so it spans from the panel frame down to the roof surface with some overlap onto the roof — it should sit firm, not stretched tight.
Fix the mesh to the panel frame using the supplied clips at regular, even spacing so the mesh sits firm with no flex points a bird could push through. Clips grip the frame only — never screw or drill into the panels or the roof.
This is where DIY jobs fail. A pigeon fits through roughly a 40mm gap. Cut and shape the mesh individually around every corner and every point where cables or conduit enter — no straight roll section will cover these on its own.
Inspect the full perimeter from arm's length: no gaps over 40mm anywhere, every clip seated, no sharp mesh edges exposed. Take photos — they're your record of the install and your reference for the annual check.
No mesh job is worth a fall. If you get up there and the pitch is steeper than it looked, the tiles are brittle, or the array runs close to an edge — come down. We do this every day with proper equipment.
Many customers do a hybrid: they buy the kit for an accessible section and have us handle the high or awkward side. Call 0451 090 150 and we'll price just the part you don't want to do.
Allow half a day for a first install on a typical single-storey array, including the nest clearout. The fiddly parts — corners and cable entries — take longer than the straight runs, so don't rush the last 20%.
Measure before you order: 30m covers most residential systems up to around 20 panels. If your perimeter runs longer, order a second kit — or send us a photo of the array and we'll confirm what you need before you buy.
No. The kit carries a 10-year product warranty on the mesh and clips regardless of who installs it. What the kit doesn't include is a labour warranty — workmanship is yours. Professional installs add the lifetime labour warranty. Full terms at the warranty page.
The kit mesh is epoxy-coated 304 stainless steel — the correct grade for Brisbane UV, humidity and coastal air. If you're comparing alternatives first, read mesh vs netting vs spikes.
Professional install is $23/m all-inclusive with nest removal and a lifetime labour warranty. Most homes done in under 3 hours.